Ultimate guide to using mockups for client presentations

Written by
Fluffys Team
Published on August 4th, 2024
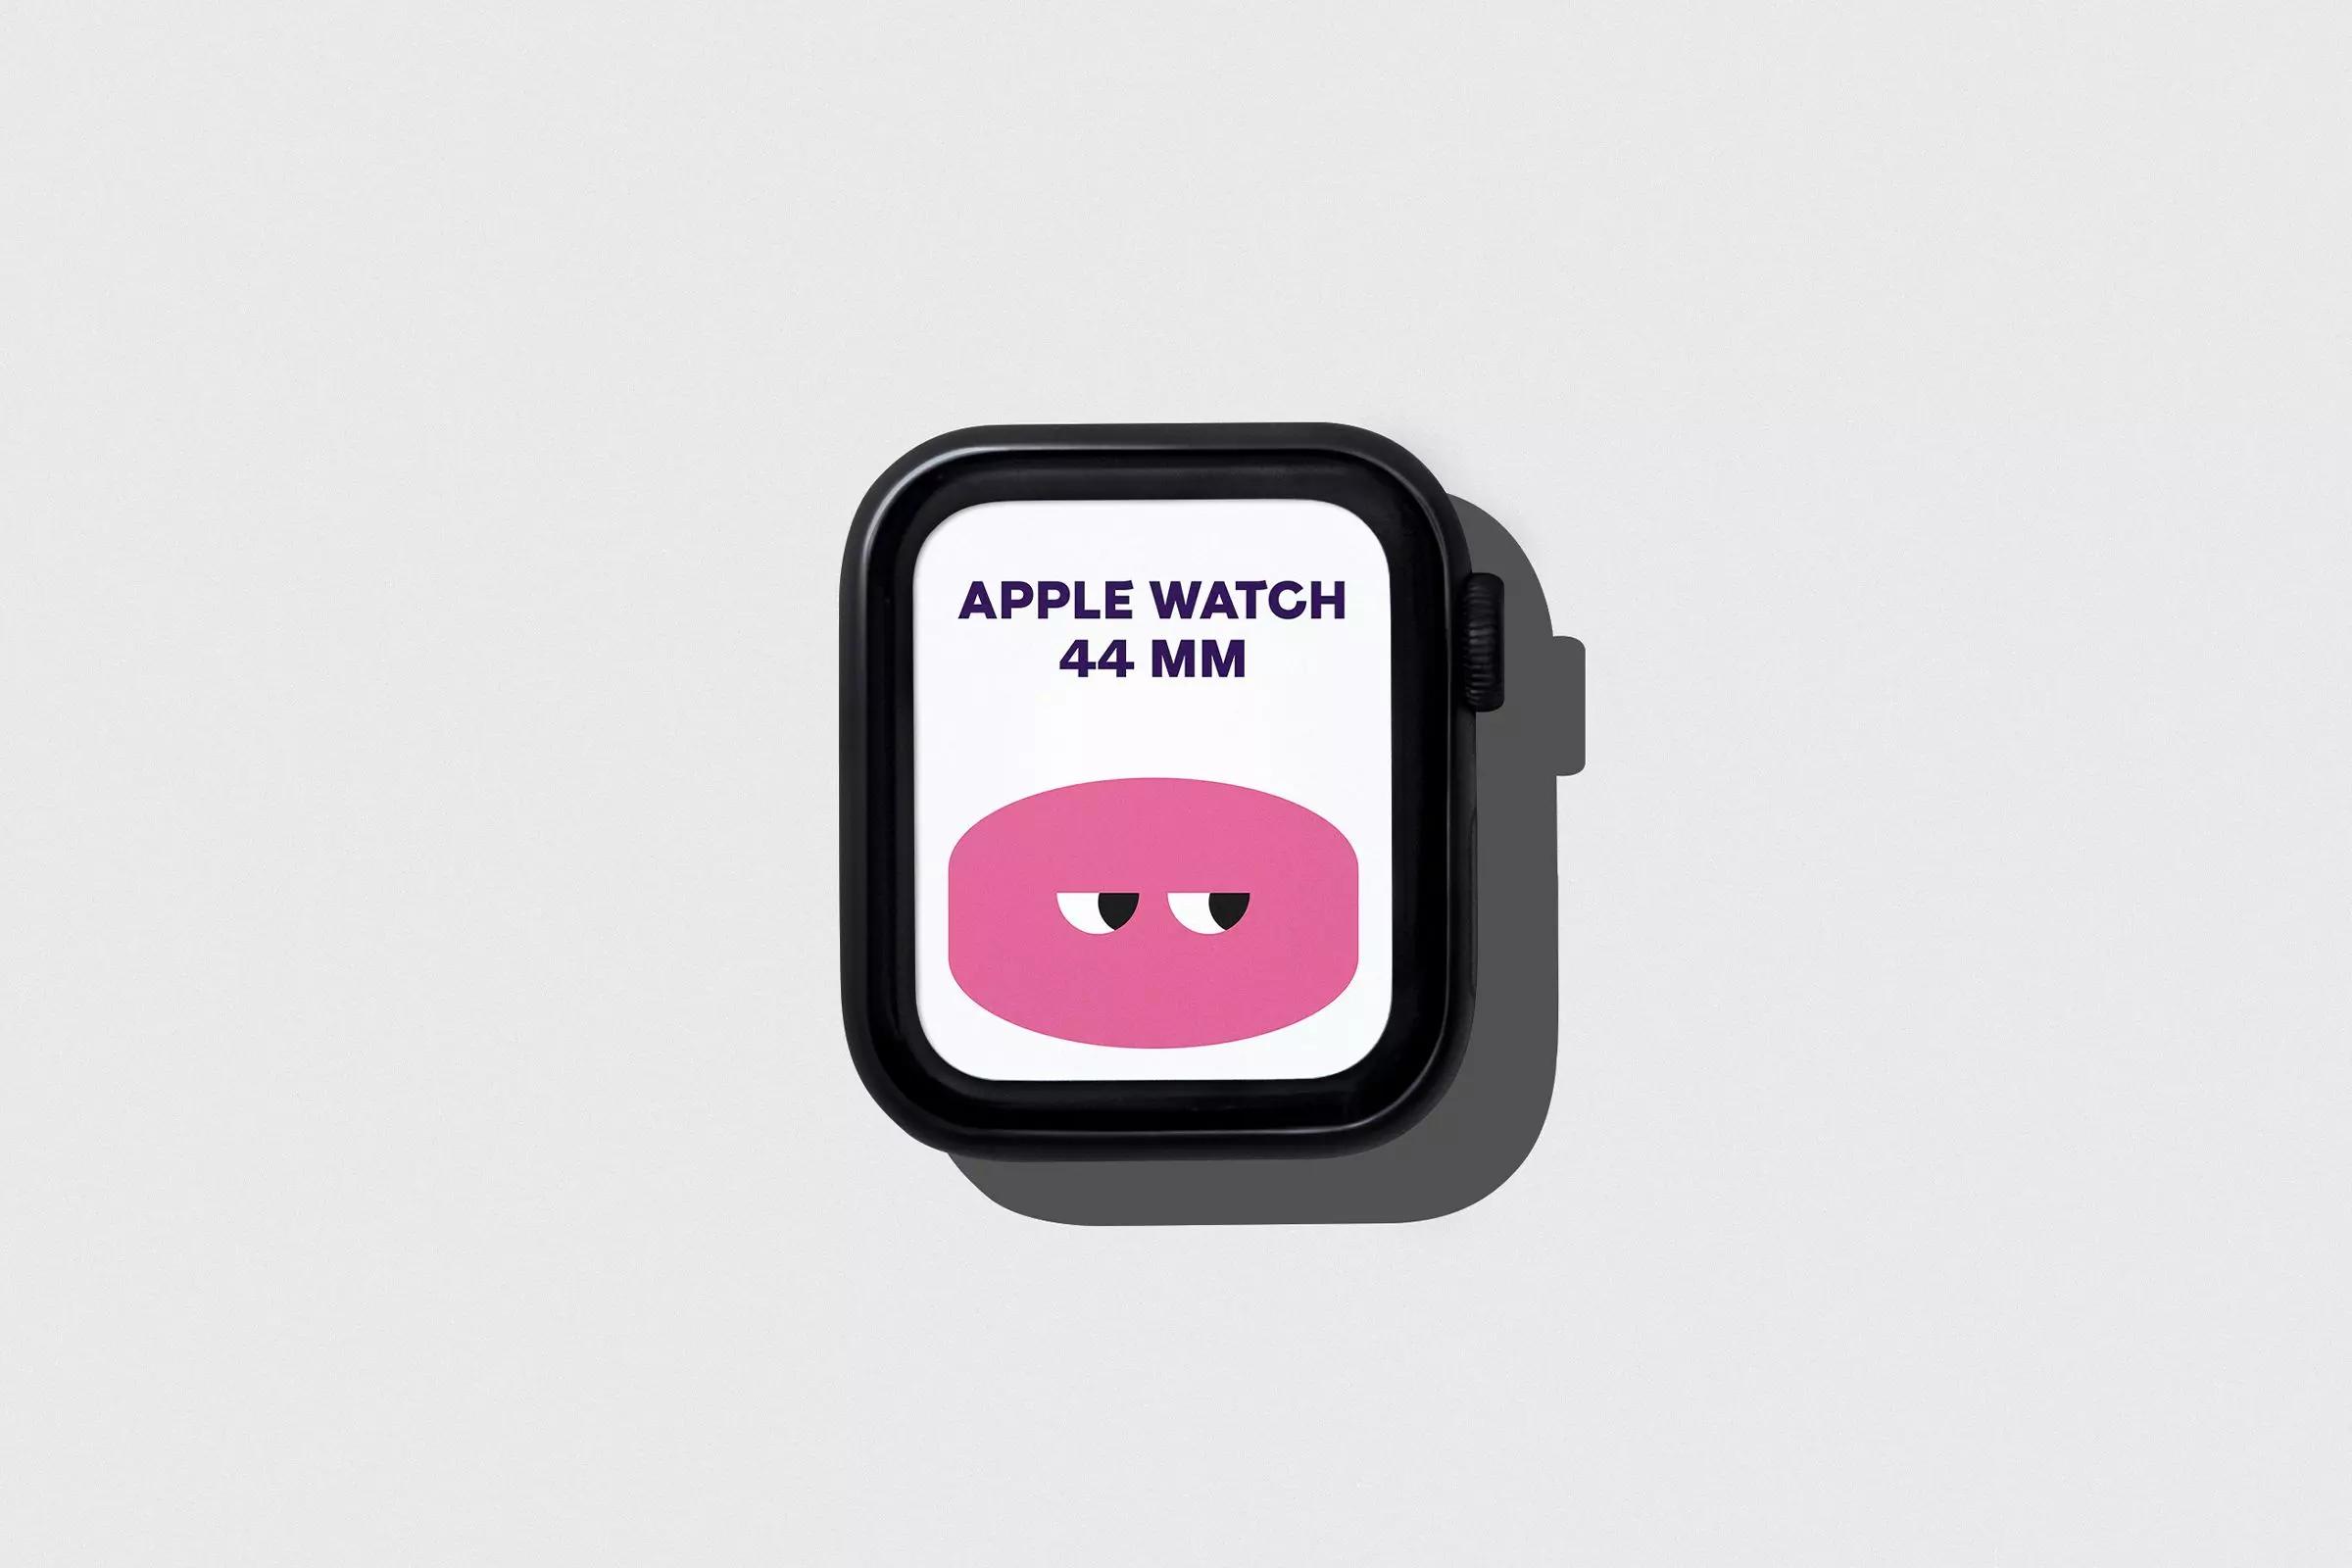
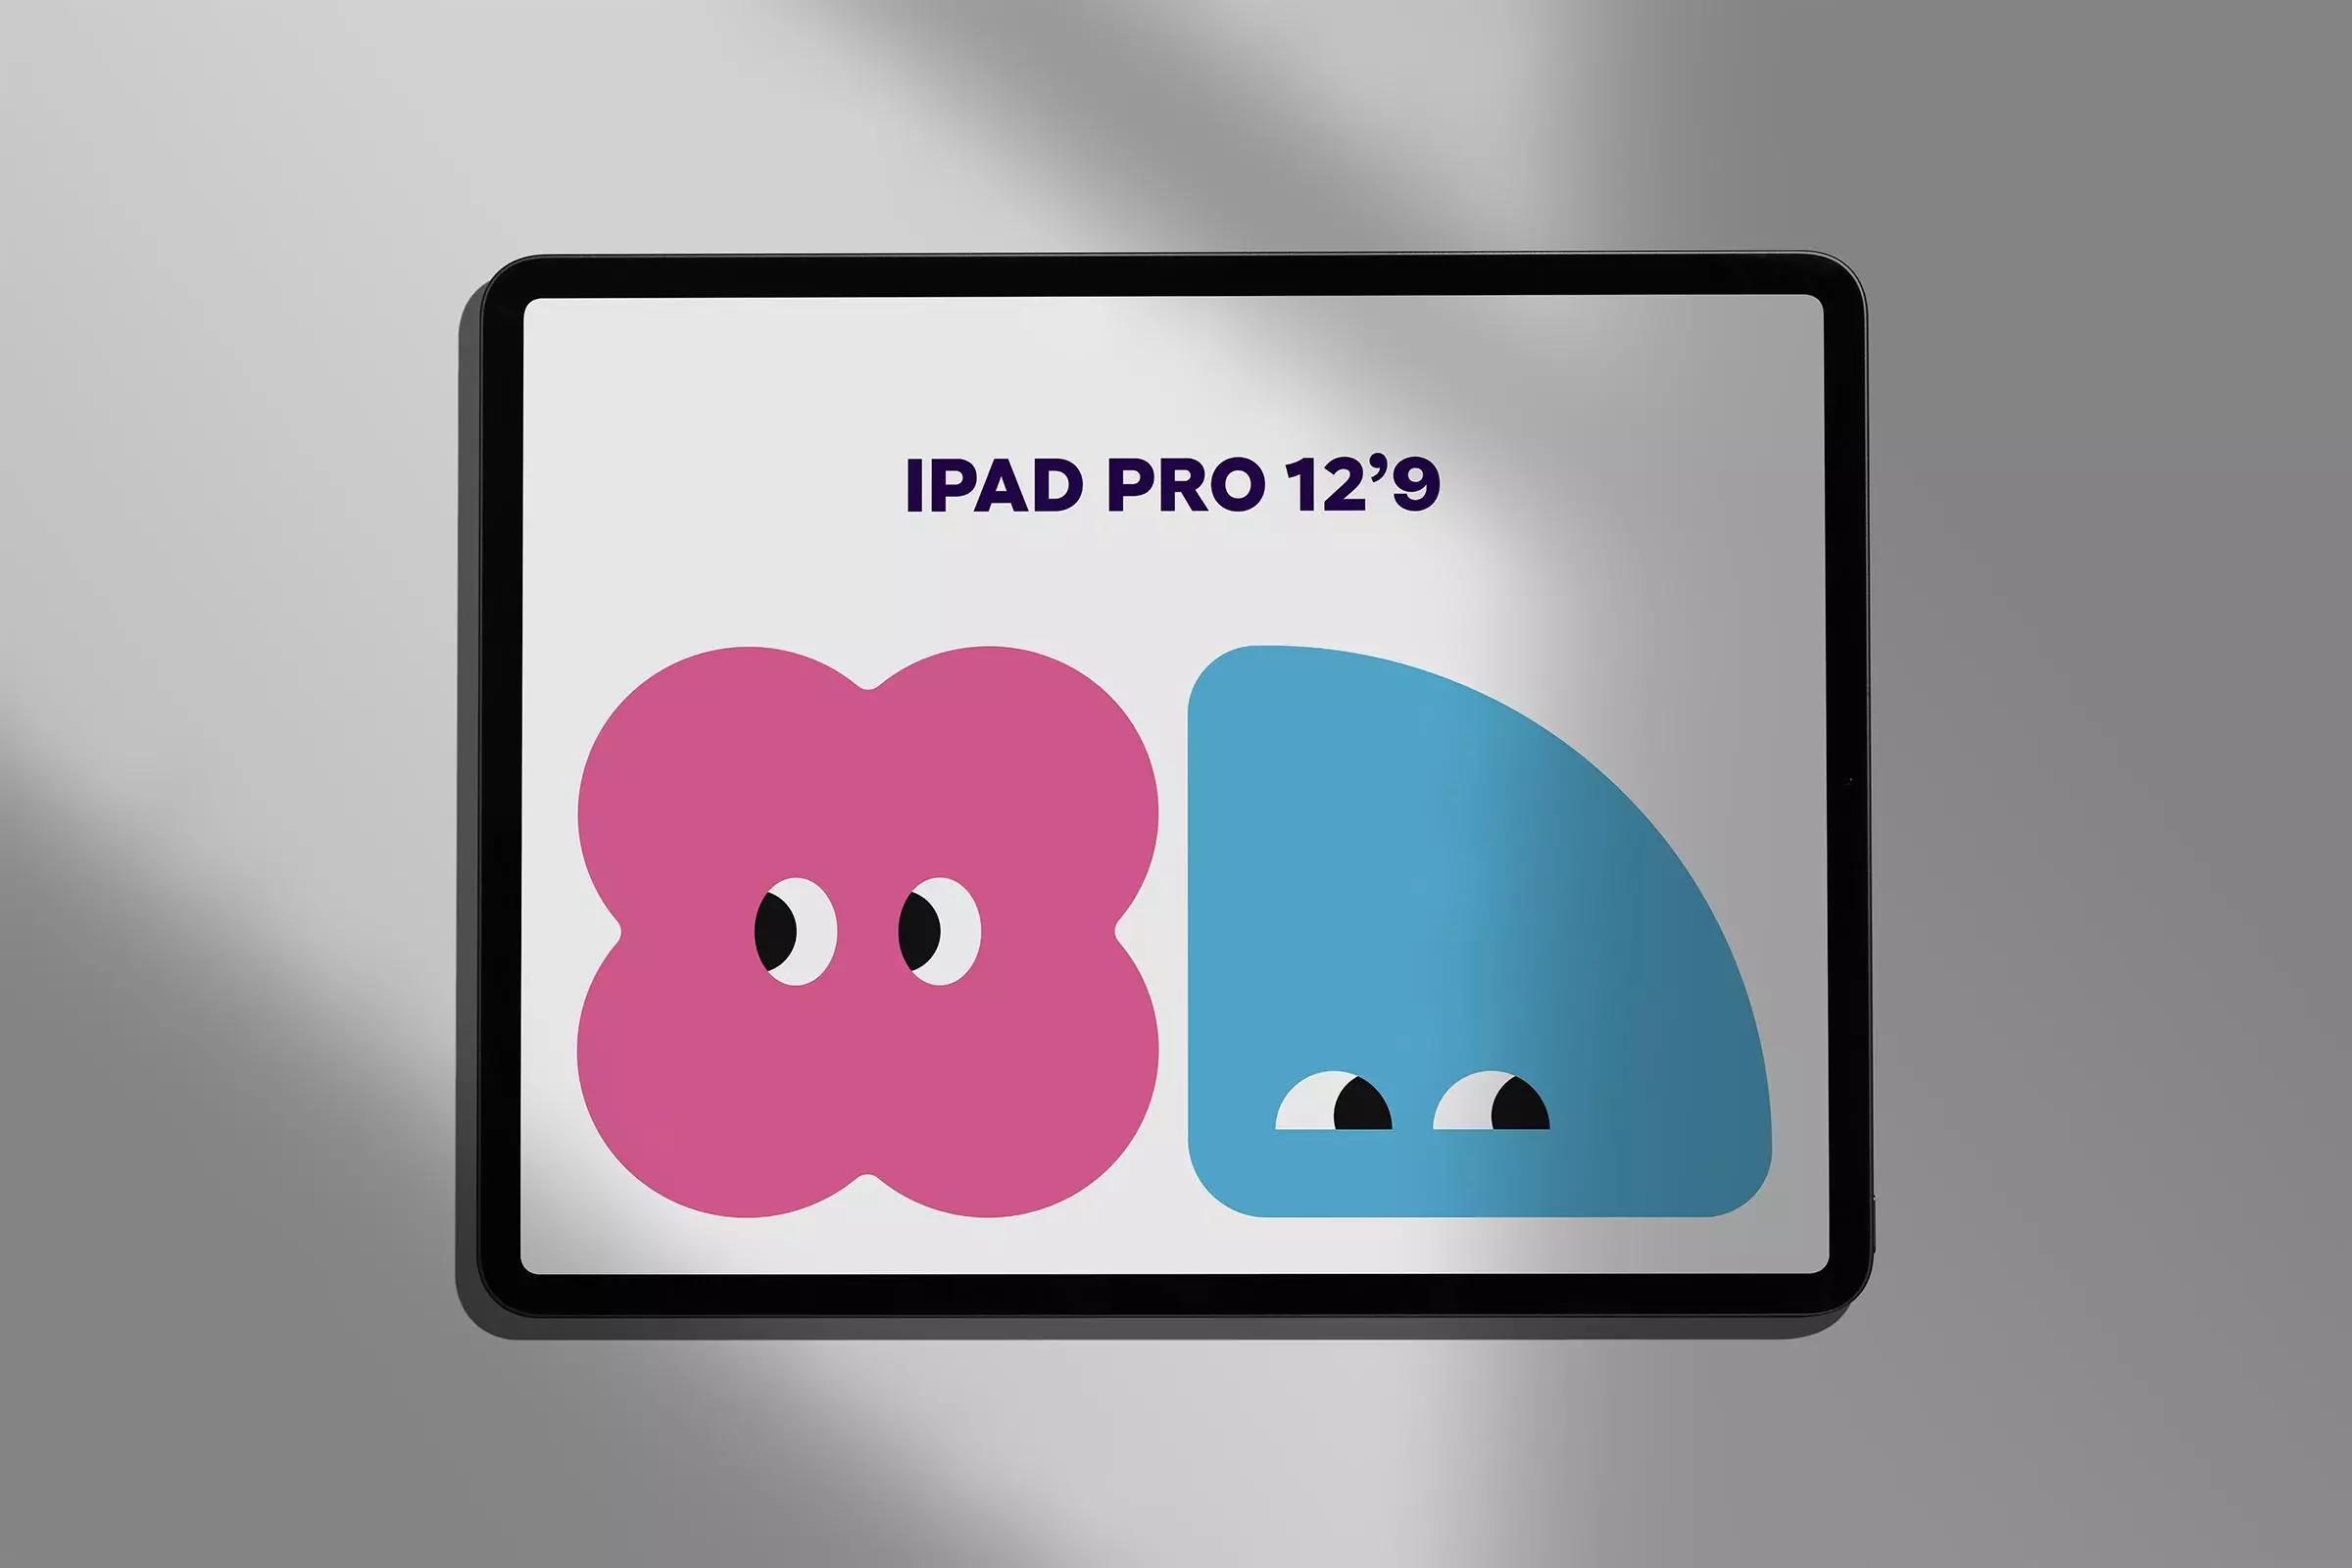
Using mockups can make a huge difference when presenting your designs to clients. They help your work look polished and professional, making it easier for clients to visualize the final product.
Why use mockups?
Mockups are essential tools in a designer's toolkit. They provide a realistic representation of how your designs will look in the real world. Here are a few reasons why mockups are invaluable:
- Visual clarity: mockups give clients a clear and tangible idea of what the final product will look like.
- Professionalism: using mockups shows that you take your work seriously and pay attention to detail.
- Feedback: they make it easier for clients to provide specific feedback, which can streamline the revision process.
Choosing the right mockups
Selecting the right mockup is crucial for making your design shine. Here are some tips to help you choose the best mockup for your project:
- Relevance: ensure the mockup aligns with the context of your project. For example, use a business card mockup for a branding project or a mobile screen mockup for an app design.
- Quality: high-quality mockups make your designs look more polished. Look for mockups with high resolution and realistic details.
- Simplicity: sometimes less is more. Choose a mockup that doesn't overshadow your design but instead enhances it.
Preparing your design
Before you place your design into a mockup, make sure it's ready to shine. Follow these steps to prepare your design:
- Finalize your design: ensure your design is complete and polished. Make any necessary adjustments before moving forward.
- Export appropriately: export your design in the correct format (e.g., PNG, JPEG, or PSD) and at the right resolution.
- Layer management: if you're using a layered file (like a PSD), organize your layers to make the mockup process smoother.
Placing your design in the mockup
Now that your design is ready, it's time to place it into the mockup. Here's a step-by-step guide to help you:
- Open the mockup file: start by opening the mockup file in your preferrred design software (e.g., Adobe Photoshop).
- Find the smart object layer: locate the smart object layer where you'll place your design. This layer is typically labeled clearly.
- Place your design: double-click the smart object layer to open it, then paste your design into the smart object.
- Adjust as needed: make any necessary adjustments to ensure your design fits perfectly within the mockup. Pay attention to alignment and scaling.
Presenting your mockup
With your design beautifully placed in the mockup, it's time to present it to your client. Here are some tips for a successful presentation:
- Context matters: present the mockup in a way that matches the project's context. For example, show a website design on a computer screen mockup.
- Highlight details: use close-up views to highlight important details of your design. This helps clients appreciate the finer points of your work.
- Gather feedback: encourage your client to provide feedback based on the mockup. This can lead to productive discussions and quick revisions.
Conclusion
Using mockups for client presentations is a game-changer. They add professionalism, clarity, and context to your designs, making it easier for clients to visualize the final product. By following this guide, you'll be able to choose the right mockups, prepare your designs effectively, and present them in the best possible light.
Meet the artist
We offer a wide range of high-quality mockups to help you elevate your presentations. Explore our marketplace to find the perfect mockup for your next project. Happy designing!
Visit store

